Building an ErgoDox
Not that I have a problem or anything, but I still can't come up with any reason for having three keyboards.
We can chalk this one up to "education".
I finally got my hands on an Infinity ErgoDox Kit in a brave moment of overestimating my abilities. Assembling a DIY kit? Not a problem, I love IKEA furniture. Soldering switches to a PCB? Well it can't be that hard.
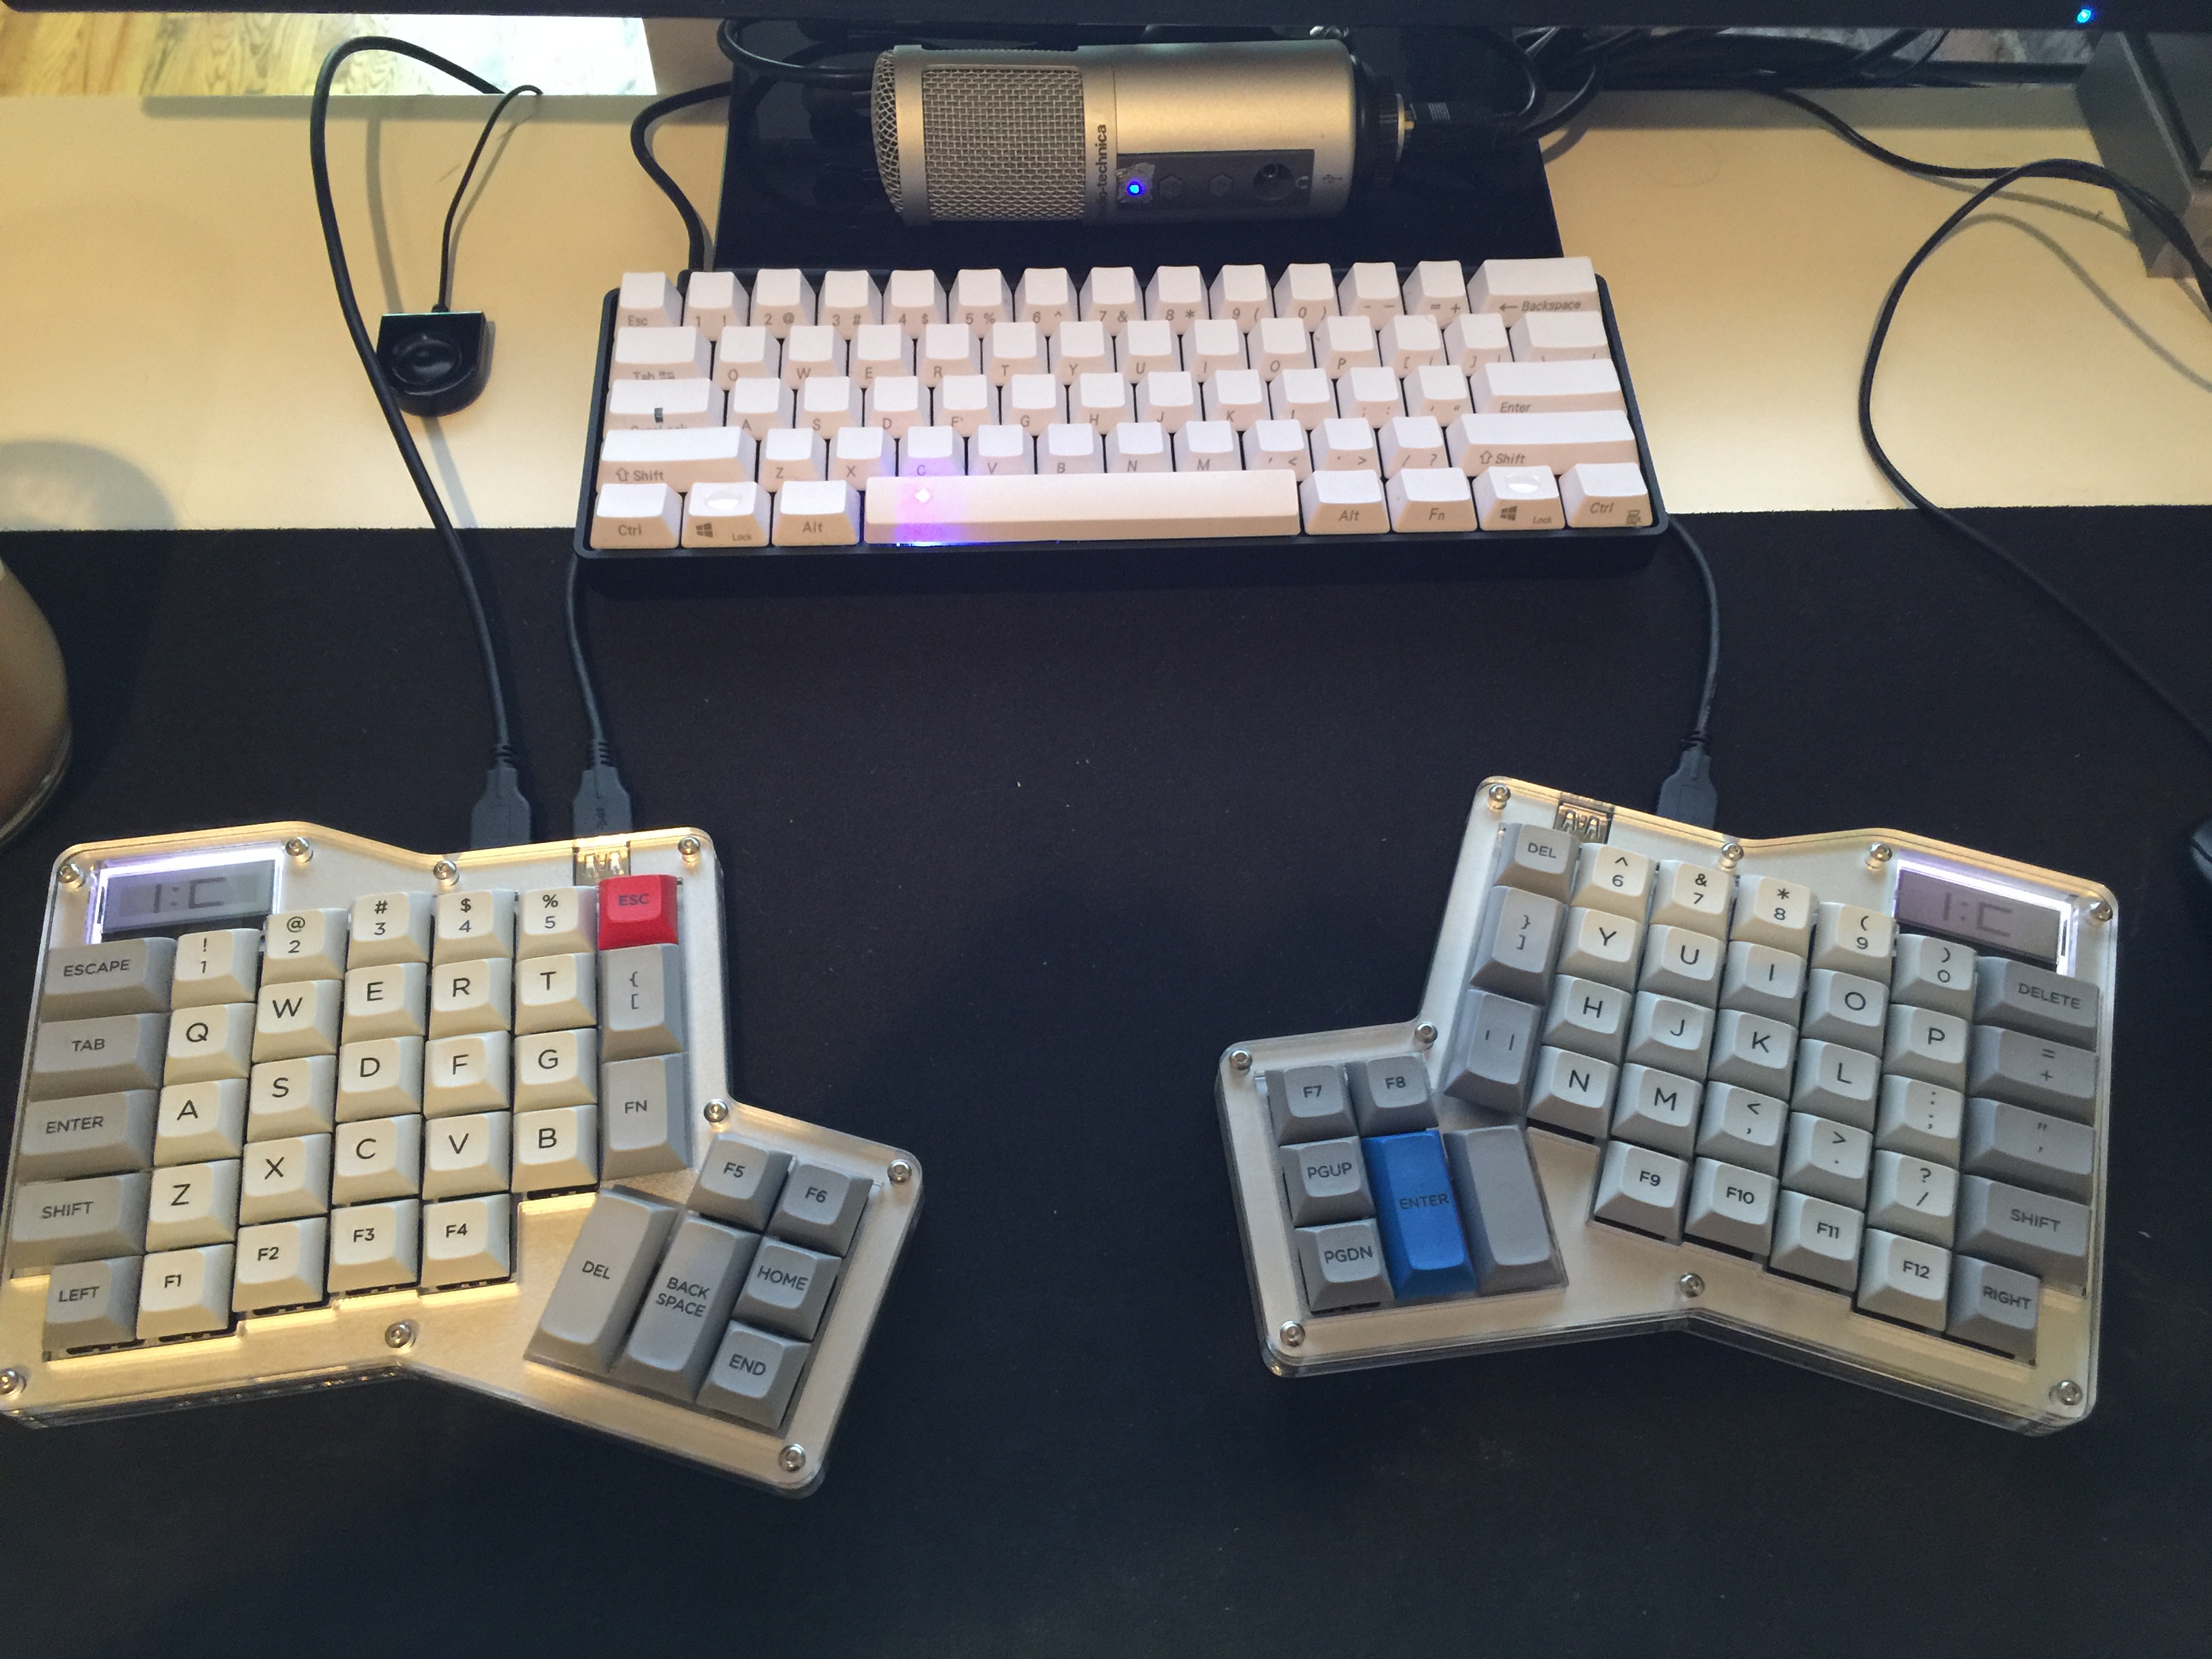
The finished product
How we got there
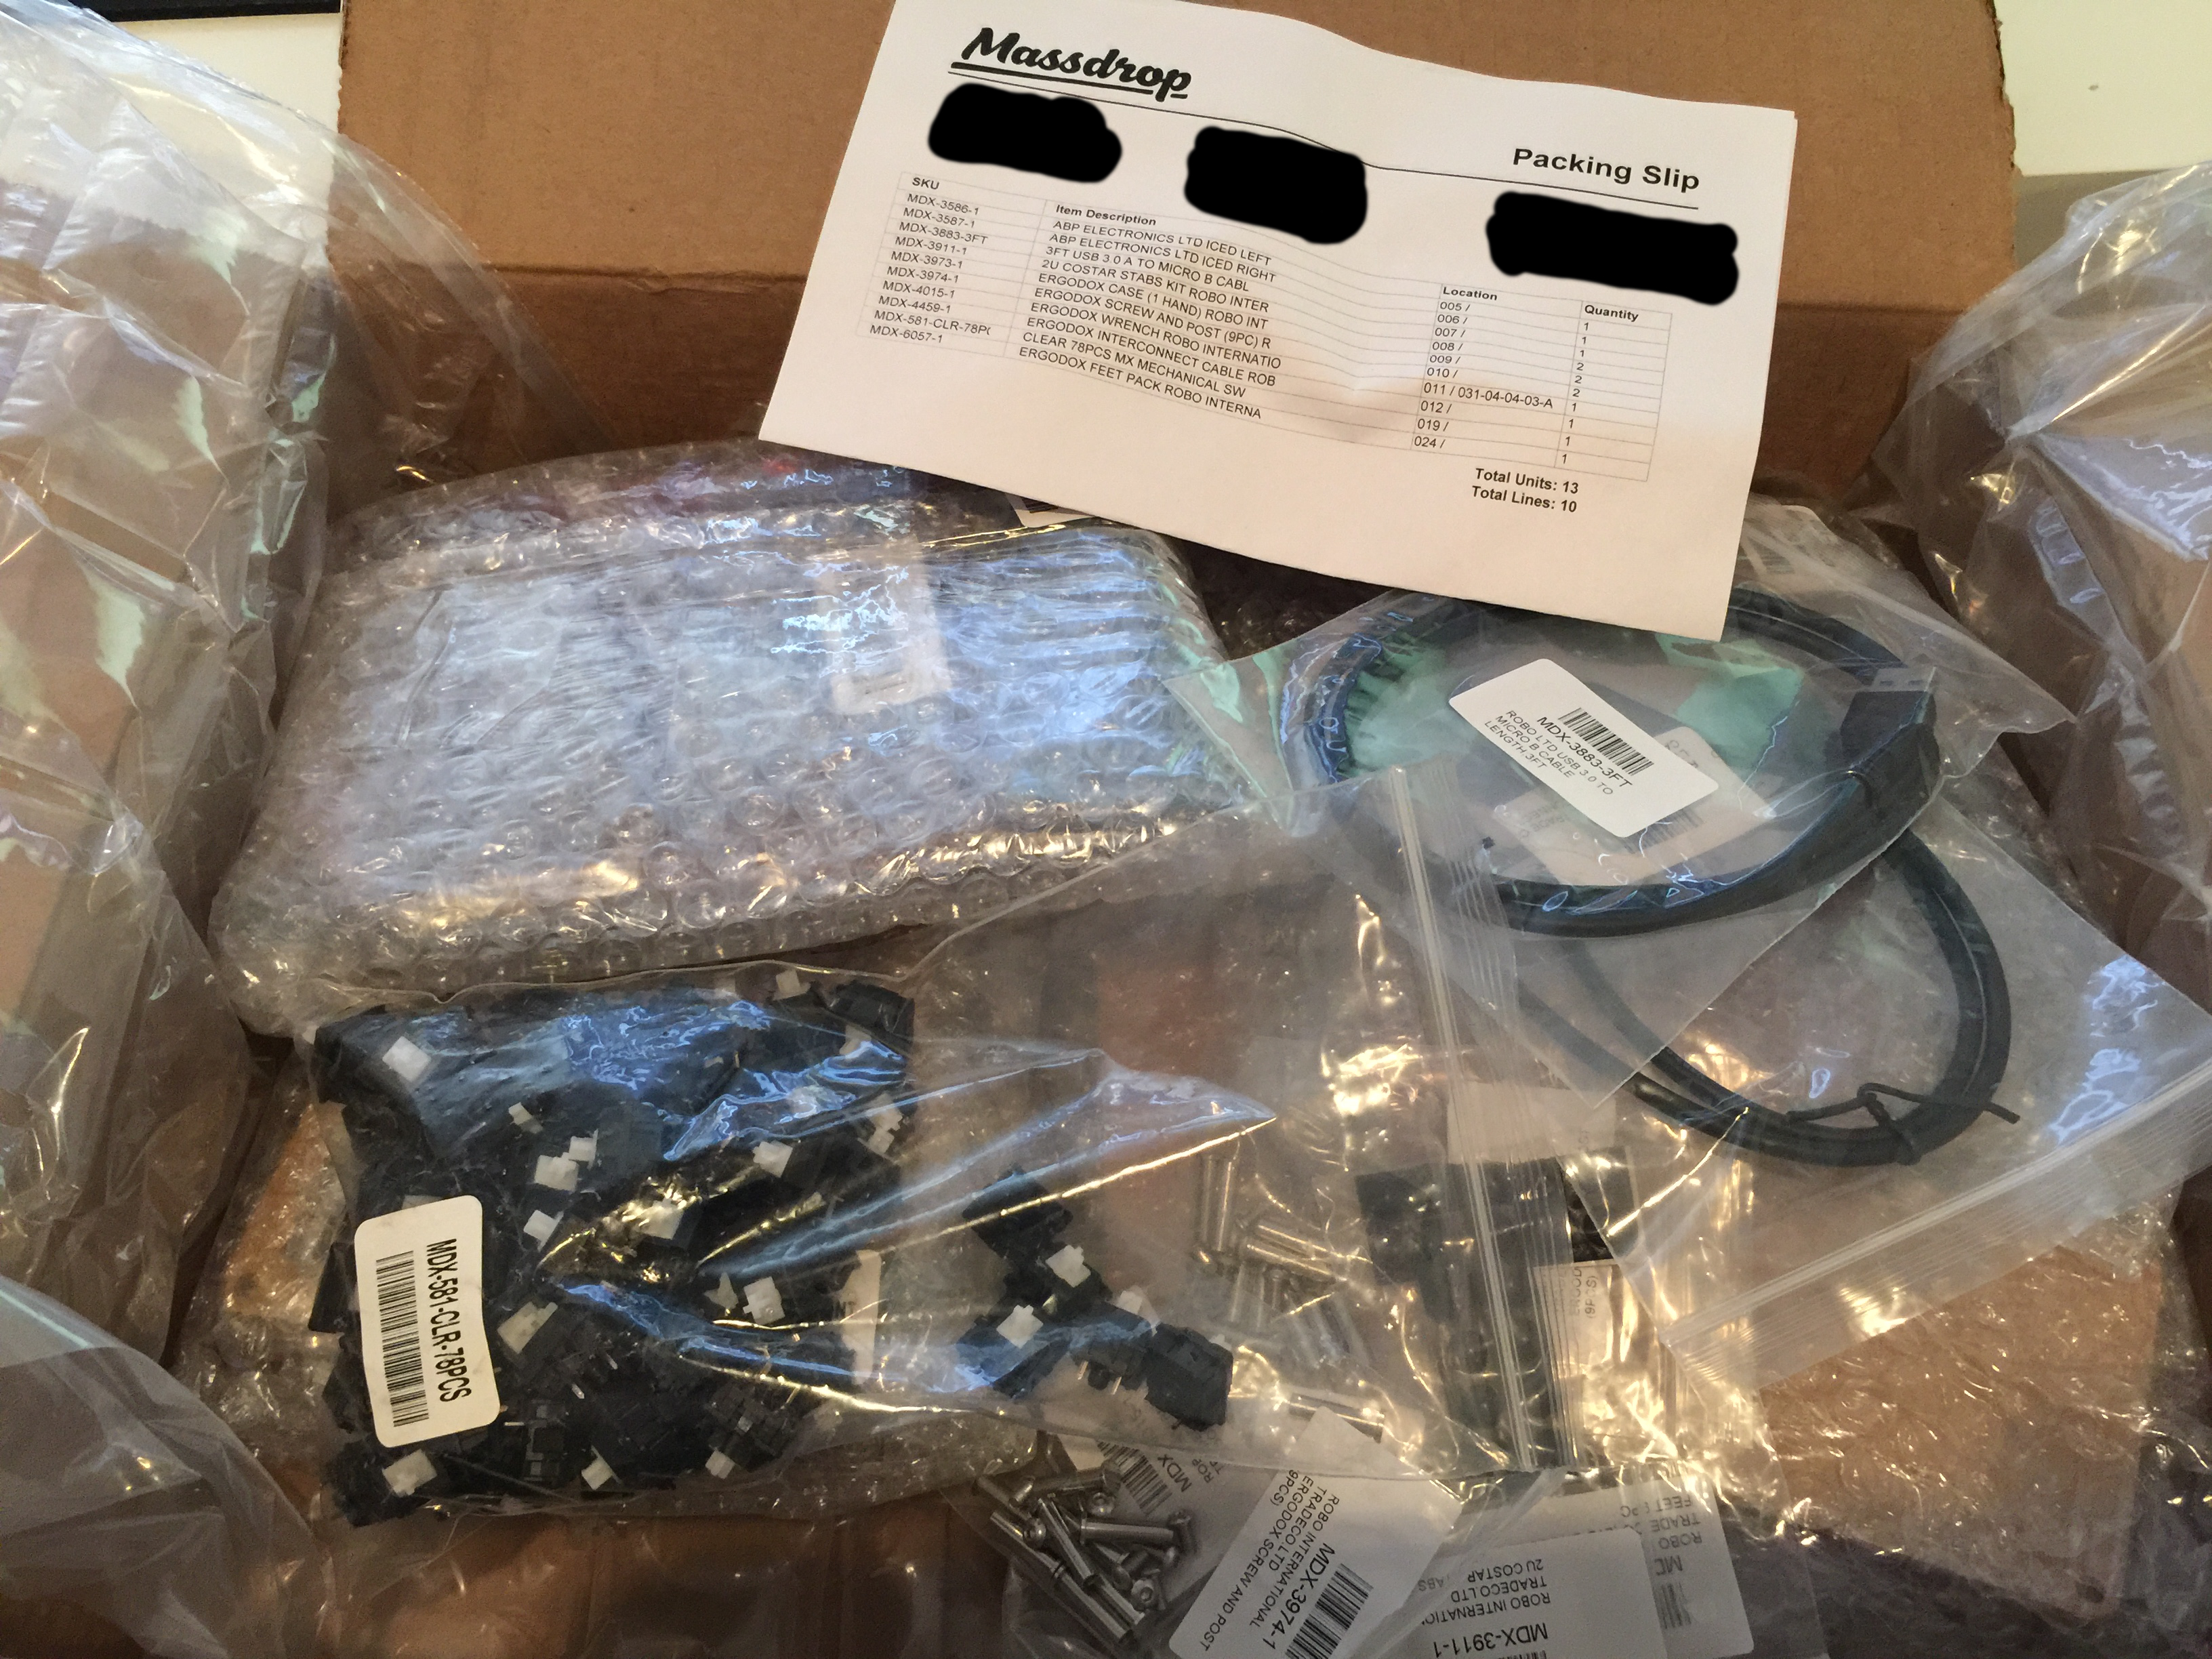
First, the mess that came in the box.
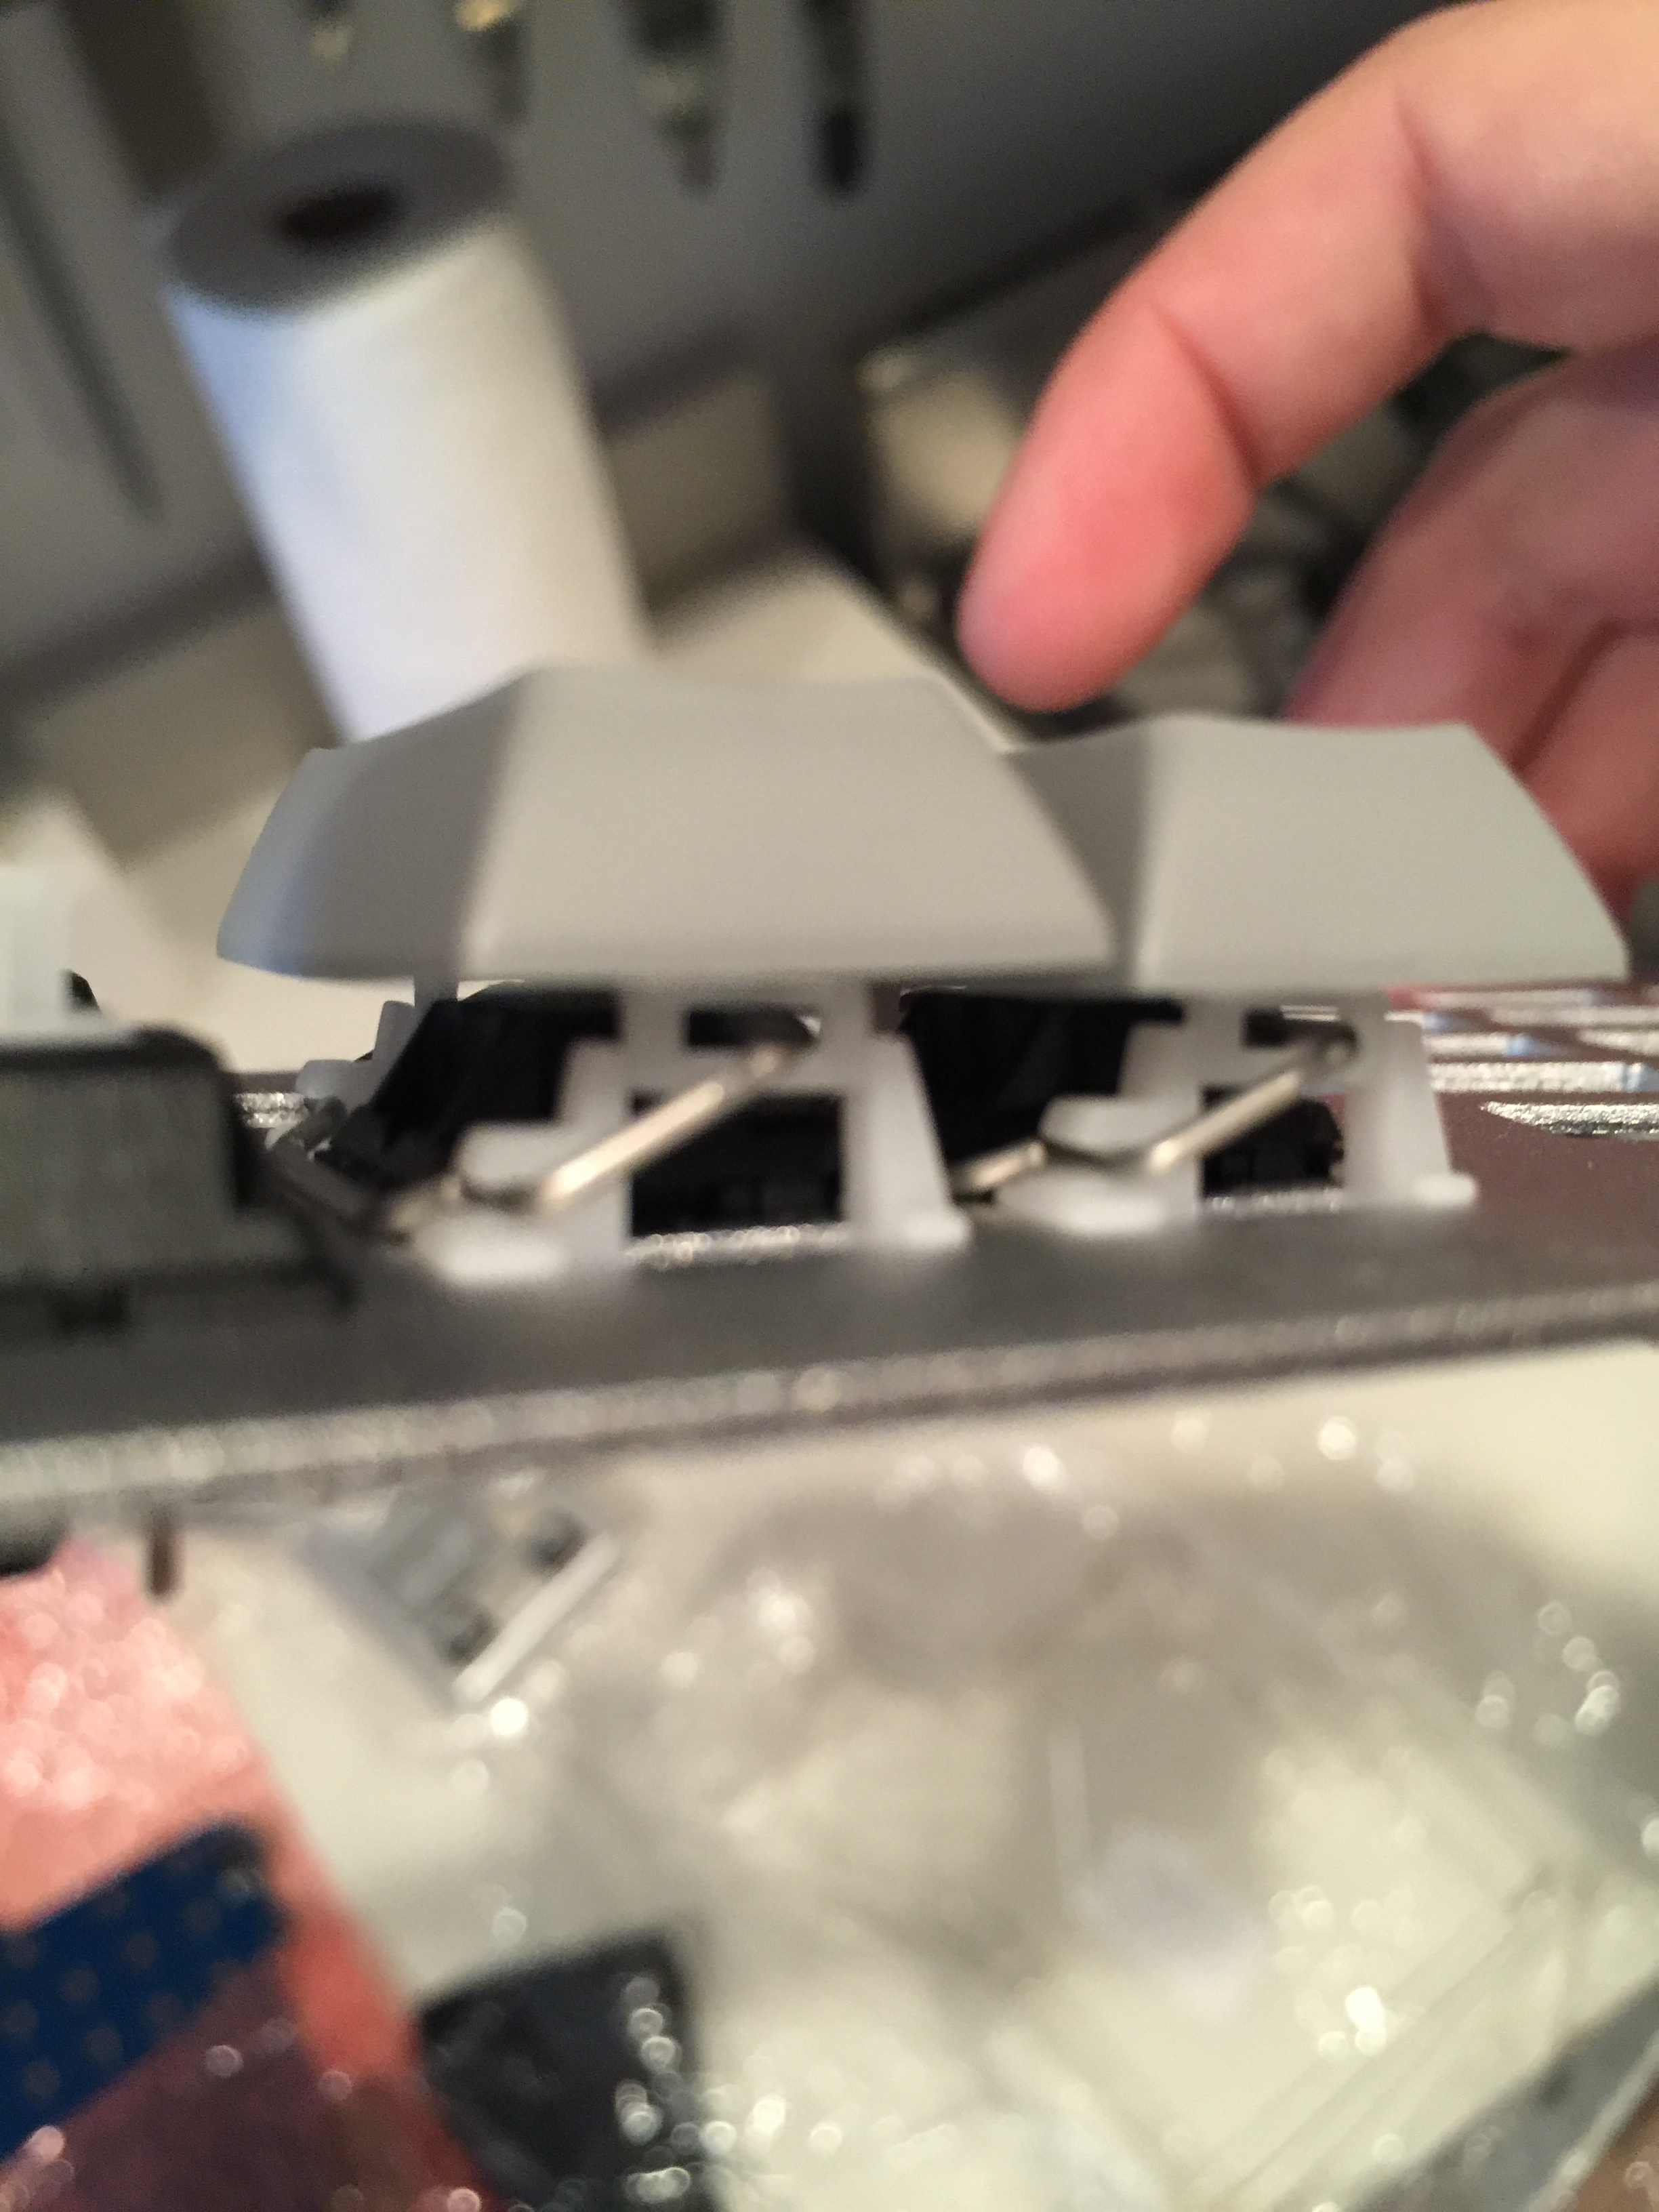
Step 1: Install the thumb switches and stabilizers (80% of the project)
I'm embarrassed how long it took me to put together a few pieces of plastic, a metal bar, and a keycap. No matter how hard I tried, the two auxiliary keycap supports just wouldn't align and allow the bar to swing freely. After four hours, and repeated reinstallation of the switch and the plastic inserts, I managed to install the four thumb switches.
Step 2: Install the PCB and solder the four thumb switches
First, prepping the soldering iron. Getting closer and closer to the moment of truth.
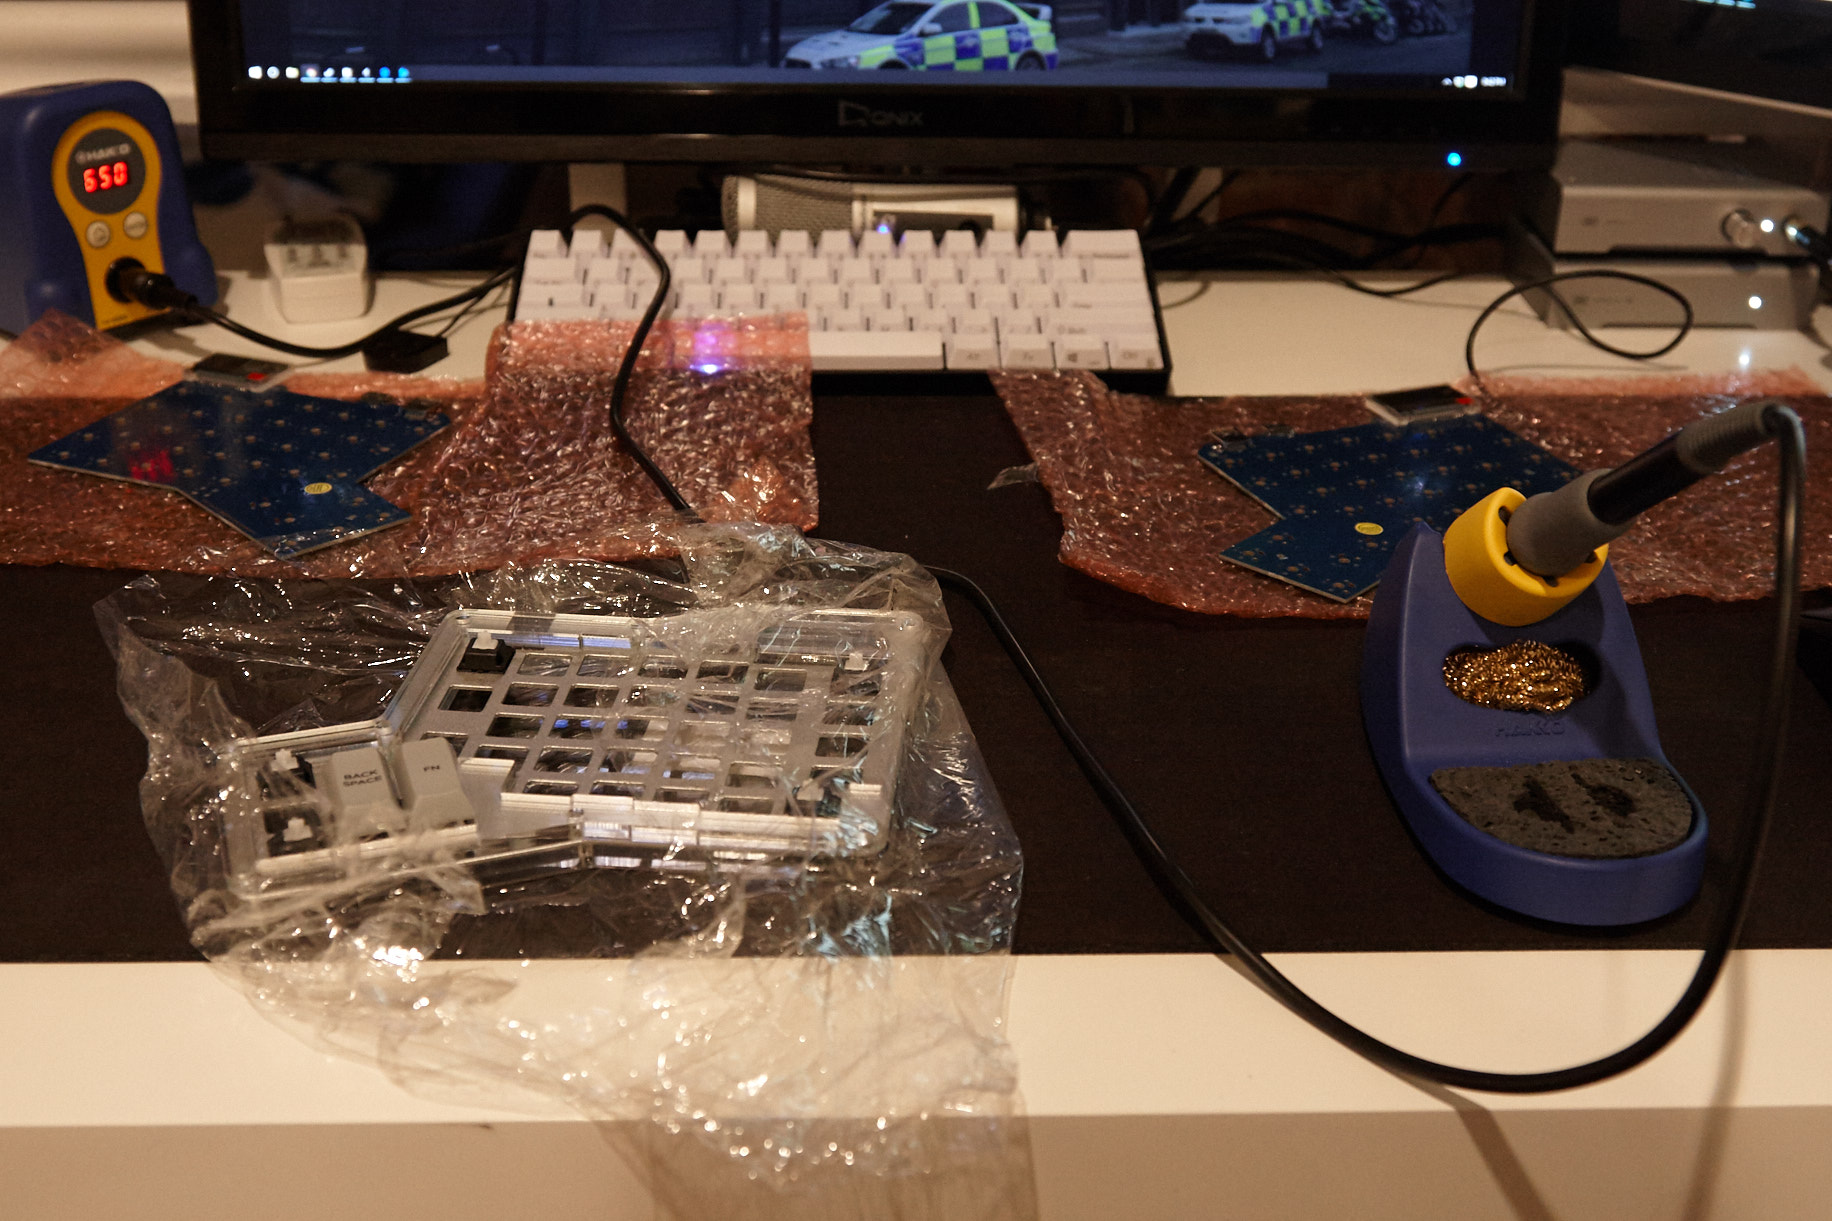
I snapped a switch into each of the four corners, and slid the PCB onto the switches.
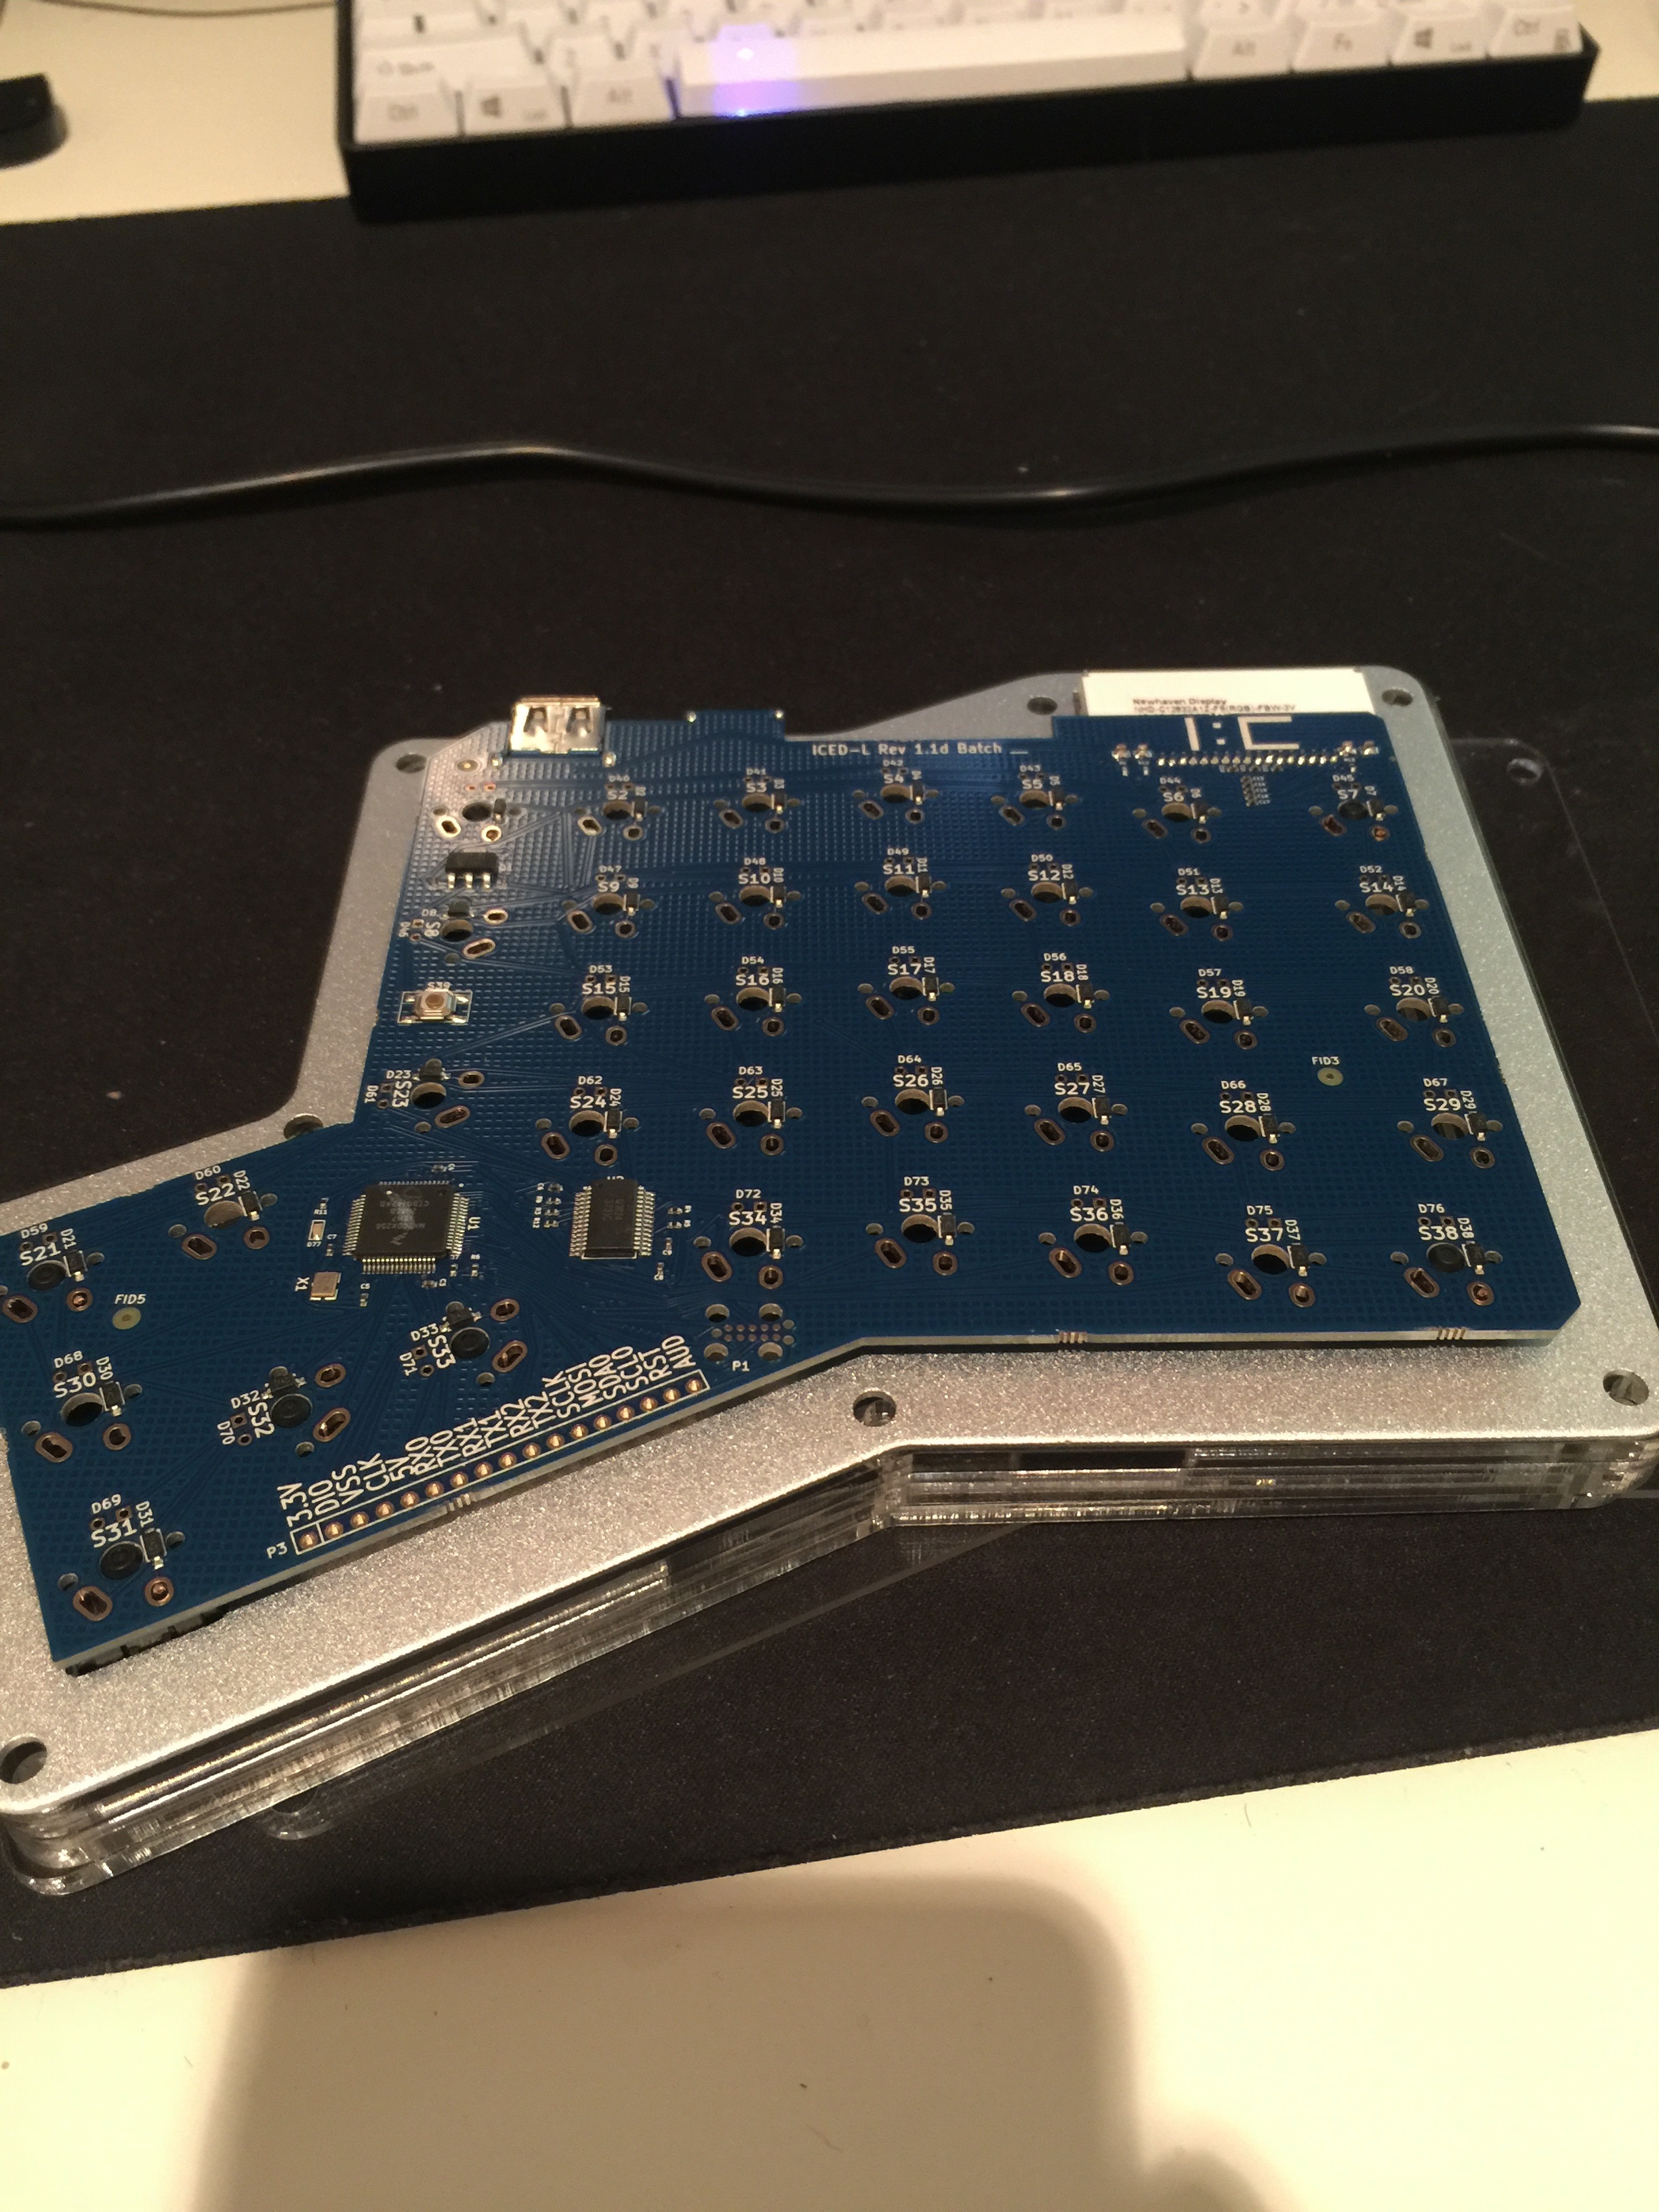
Now for the hard part: trying to solder for the first time. After four or five YouTube videos, I finally felt confident enough to give it a shot. And surprisingly... it worked!
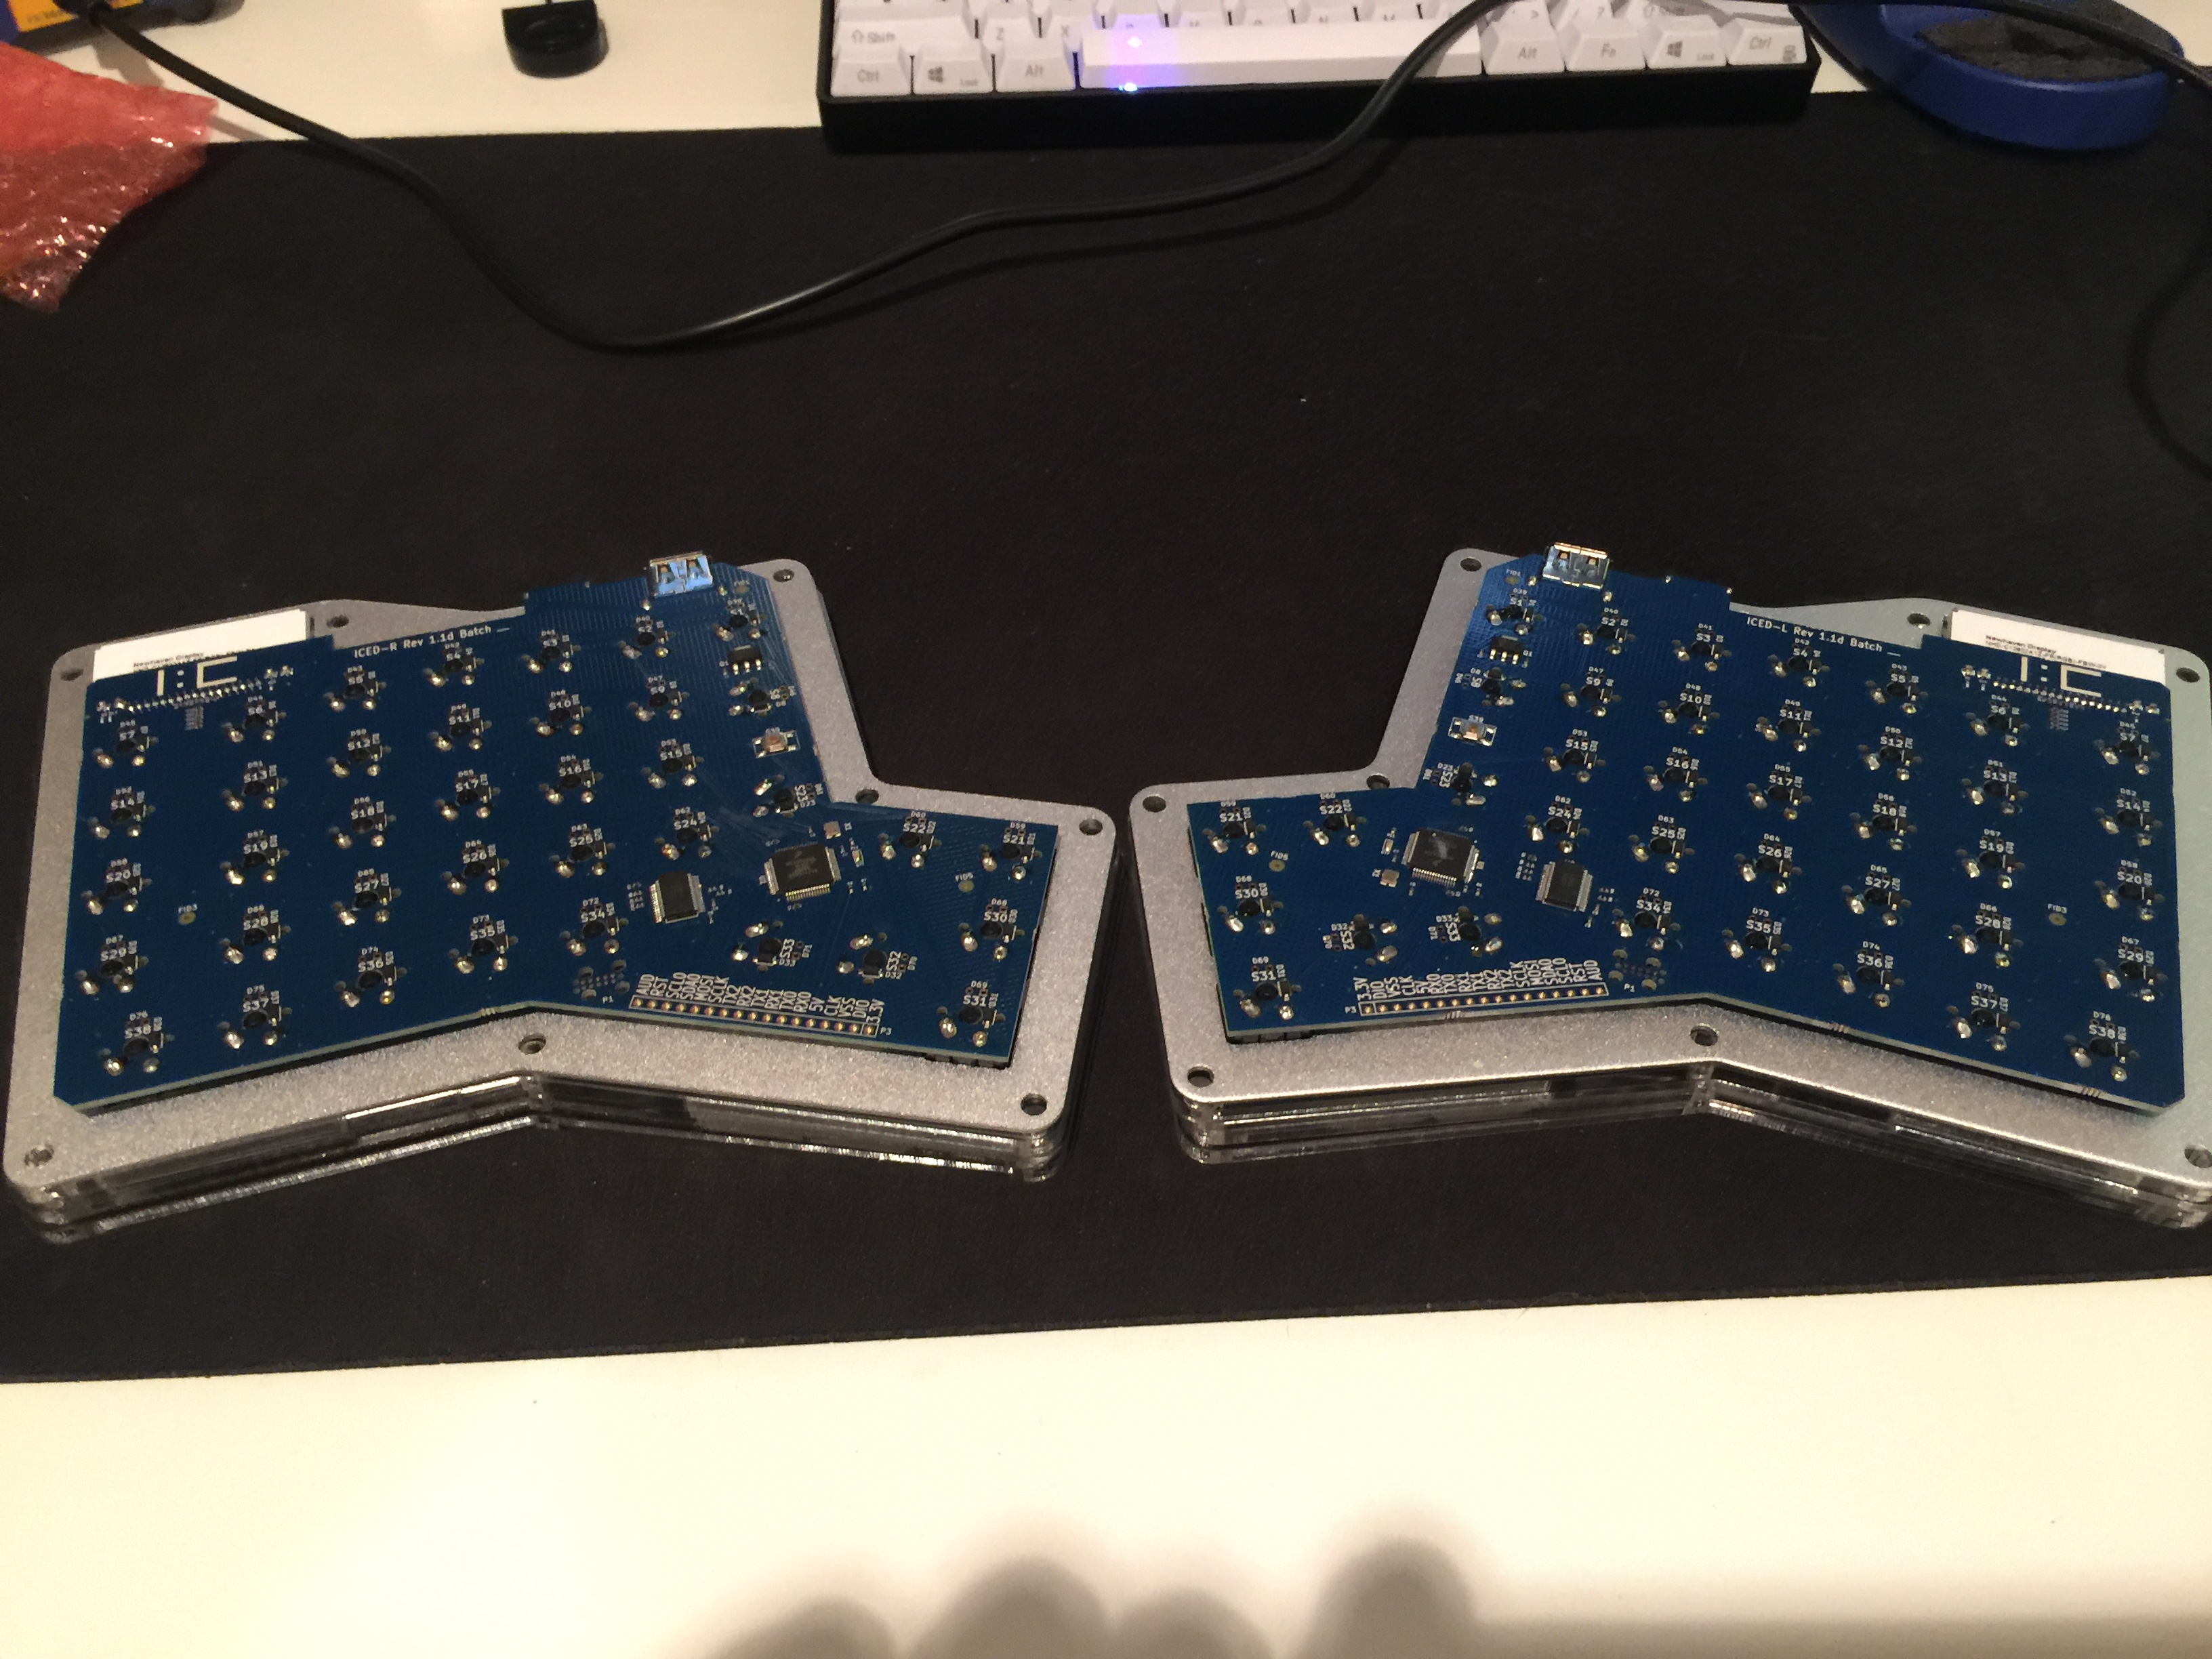
Step 3: Install and solder the remaining switches.
This turned out to be easier than I expected. And after getting the hang of it, I found soldering was oddly cathartic. Thirty minutes or so later, all of the switches were soldered onto the PCB.
PS - Whoever at Massdrop decided to included two extra switches is my savior. After popping one switch open on accident and losing the spring, I had a tiny heart attack while I frantically counted to see if they included any extras.
After throwing on some keycaps and nervously plugging it in, I found that it worked!
And again, the finished product